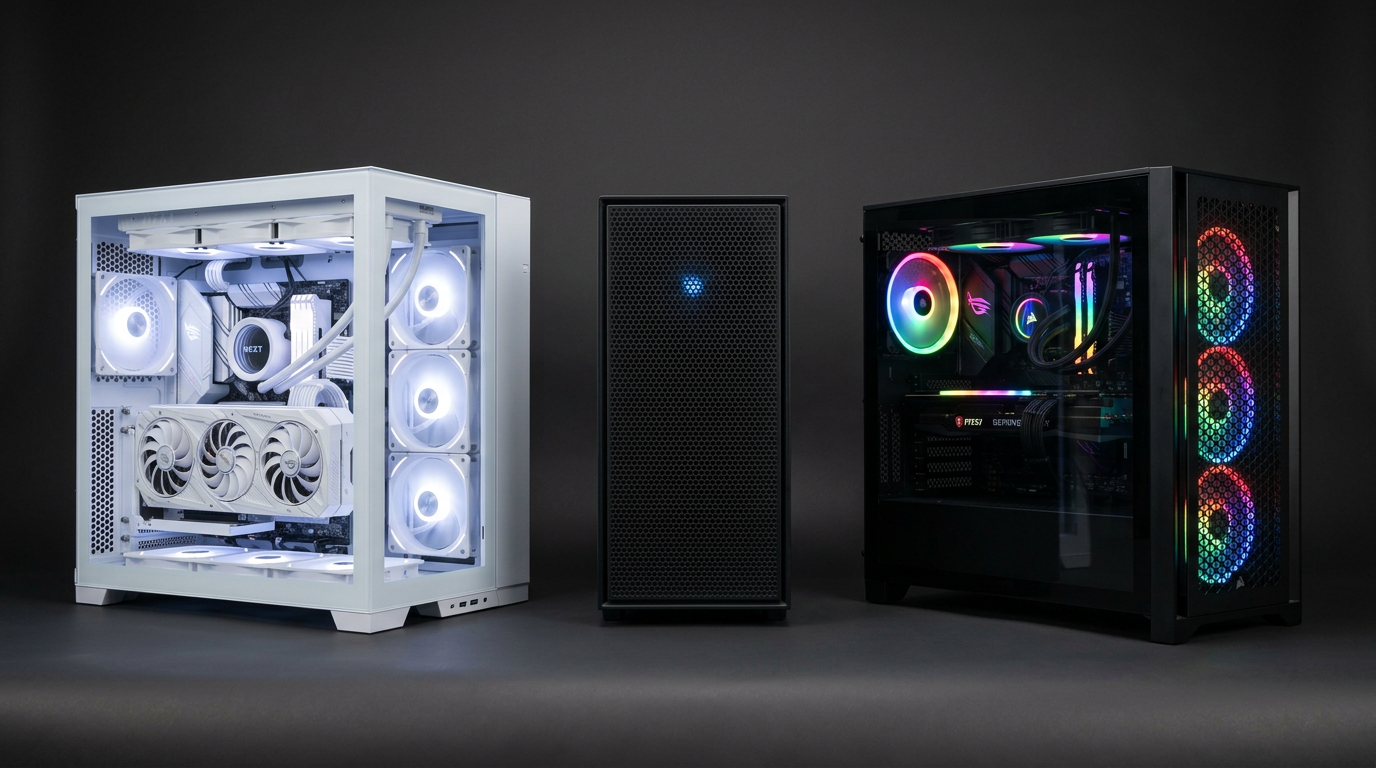
Fan Bearing Noise and Airflow Direction Checks
A case full of spinning fans can still have worn bearings, reversed airflow, blocked intakes, and poor cooling where it matters.

Fan inspection has two separate goals: confirm each fan is mechanically healthy and confirm the group moves air through the case. Speed alone does not prove either. This routine covers case, CPU-cooler, radiator, and graphics-card fans that can be observed safely without stopping blades by hand.
Identify bearing noise at different speeds
Listen at idle, during a gradual fan ramp, and after the system warms. Bearing wear often sounds like grinding, rattling, ticking, or a low growl that changes with speed. Cable contact produces a sharper repeated tap. Brief startup noise can be distinct from continuous wear. Use fan-control software or firmware to change one controllable header at a time rather than guessing which fan is responsible.
Check fans while the PC is off
Unplug the computer and inspect for chipped blades, cracks, dust imbalance, loose frames, missing screws, and cables crossing the blade path. Gently rotate an accessible case fan with one finger on the hub, not the blade tip. Roughness, side-to-side play, or scraping supports a bearing diagnosis. Do not spin a fan with compressed air and do not open a power supply.
Confirm intake and exhaust direction
Many fan frames have small arrows showing blade rotation and airflow. When arrows are absent, the open blade side is usually intake and the side with support struts usually exhaust, but verify unusual designs. Front and lower fans commonly feed cool air; rear and upper fans commonly exhaust it. Radiator placement can change the best arrangement, so focus on a clear path rather than a rigid formula.
Map airflow with safe observations
Hold a small strip of light tissue near the outside of a grille without allowing it to enter the fan. It should pull toward an intake and move away from an exhaust. Compare filter dust patterns and feel for obvious dead zones around the GPU and CPU cooler. Smoke, aerosol, and loose powder are unnecessary around electronics.
- Record the direction and header for each fan.
- Ramp one controllable fan at a time and listen.
- Confirm grille flow with tissue kept outside the case.
- Run a normal load and compare temperature, clocks, and noise.
Relate airflow to temperature and dust
A tidy airflow path should deliver stable component temperatures without every fan running at maximum. Blocked filters, a glass front with tiny vents, or fans fighting each other can raise noise while moving little useful air. Review clocks as well as temperatures using our used PC thermal guide. Dust concentrated at unfiltered gaps can suggest strong negative pressure.
Fix the cause in the right order
First remove cable contact and clean filters. Then correct reversed fans and firmware curves. Replace a fan that has rough bearings, cracked blades, intermittent startup, or persistent mechanical noise. Do not mask a failing fan by setting a speed it can barely tolerate. For radiator systems, combine fan checks with our used AIO cooling guide.
Frequently asked questions
Can I stop a spinning fan with my finger to identify noise?
No. Use firmware or software controls, or disconnect a case fan only while the system is powered off and the test remains thermally safe.
Which side of a PC fan is exhaust?
Usually the side with frame support struts is exhaust. Direction arrows on the frame are better evidence when present.
Is positive case pressure always better?
A slight filtered intake bias can reduce dust through gaps, but component temperature, restrictions, and a clear airflow path matter more than a simple label.
Can fan bearing noise be repaired?
Some serviceable fans can be lubricated, but many sealed PC fans are better replaced. Cracked blades or substantial shaft play call for replacement.
Key takeaways
- Test fan noise across speeds and isolate one controllable header at a time.
- Verify airflow direction at the frame and outside grille, not by appearance alone.
- Correct obstructions and layout before using aggressive fan speeds to hide poor cooling.
Browse tested Ontario gaming PCs, or ask us about a listing before you buy.
Explore more